Improving the Performance of Linux Guests in Hyper-V

Diese Seite ist auch auf Deutsch verfügbar.
Despite Hyper-V’s impressive performance, its GUI can feel sluggish compared to direct interaction on your host. Finding a solution to this was challenging, as resources were scarce. This post outlines how to configure Hyper-V and Linux virtual machines for a more responsive UI, achieving a performance level comparable to VMware Workstation.
Table of Contents
Use Case
My use case is perhaps a bit specific. I want to run virtual machines (VMs) directly on my Windows laptop for various reasons:
- I prefer to install as little software as possible on my Windows laptop. If I need specific software for one use case, I use a VM.
- I require specific security tools that only run (or run better) on Linux.
- If I work with customer data, I want to ensure no data is left in some history/cache file after the project is finished. Using a “burner VM” guarantees that.
The gold standard for me is VMware Workstation, but given the recent Broadcom controversy, I’m uncertain about the future of this product. Additionally, I’ve encountered many performance issues in the past, and Hyper-V is readily available and free. Therefore, I will use Hyper-V. Alternatives I haven’t tried include Oracle VirtualBox (which I found unsatisfactory long ago) and libvirt (which I was recommended but haven’t tried, I am also not sure how well it works on Windows).
Enabling Enhanced Session Mode
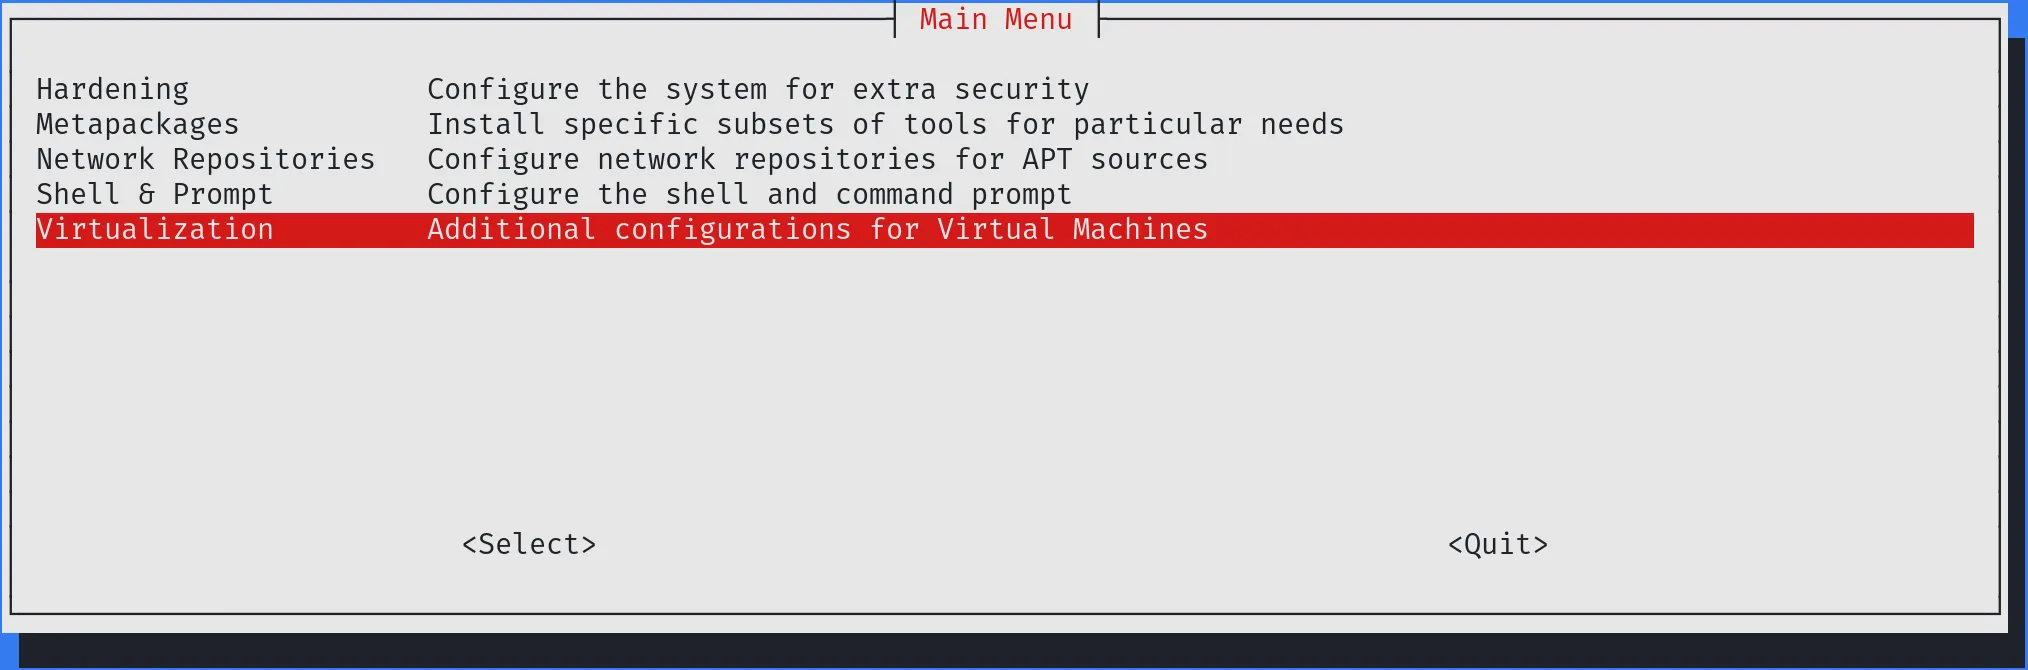
Installing Kali Linux (this is what I am using) in Hyper-V offers a quite basic experience initially. No copy/paste, no high resolutions. To improve this, run kali-tweaks. There, you can install the prerequisites for “Enhanced Session Mode”:
Great, now you can connect using the “Enhanced Session Mode” of Hyper-V. In Hyper-V Manager, select View -> Enhanced Session Mode. If this option is greyed out, you might need to shut down the virtual machine, execute the following command (on the host in PowerShell), and then start the machine again:
set-vm "<VM name here>" -EnhancedSessionTransportType HVSocket
“Enhanced Session Mode” works with xrdp in the background and offers:
- Clipboard sharing between host and VM
- Shared folders and printers
- Higher resolutions (and easy changes to resolutions)
- Supposedly better audio (untested) and video performance (which I question, hence this post)
From my experience, these features are nice, but as previously mentioned, the video performance seems worse than without “Enhanced Session Mode”, potentially depending on your resolution. I’ve encountered issues.
Switching Back to Classic Mode
Our plan now is to revert to classic mode (in Hyper-V Manager, untick “Enhanced Session Mode” under View -> Enhanced Session Mode) and manually implement the “Enhanced Session Mode” features. I do not care about audio and printing, so those will not be covered here.
Higher Resolutions
Classic mode limits resolutions to a maximum of 1920x1200. Owning a monitor with 2560x1440, I naturally want to utilize its full capability.
First, we must shut down the Linux machine, then we can set the resolution using PowerShell:
Set-VMVideo -VMName <VM video> -ResolutionType Single -HorizontalResolution 2560 -VerticalResolution 1440
Now, restart the machine and execute the following in bash (adjust for your resolution):
cvt 2560 1440 60 # -> calculates the modeline for the command below
xrandr --newmode "2560x1440_60.00"  311.83  2560 2744 3024 3488  1440 1441 1444 1490  -HSync +Vsync
xrandr --addmode Virtual-1 "2560x1440_60.00"
xrandr --output Virtual-1 --mode "2560x1440_60.00"
The machine now supports the intended resolution. Remember: these commands need to be executed again after a restart.
Clipboard and Shared Folder
This aspect is more complex but crucial. I’ve experimented with various solutions and found a working approach.
The concept is straightforward: manage the clipboard with a program that:
- If the clipboard content is changed, the content is written to a file
- If the file is changed through an external program, the clipboard is updated with the new content
Thus, we establish a two-way sync between the file and the clipboard. This file must then be shared between both machines. I use Samba on the Linux machine, avoiding additional installations on my Windows host. This method is effective, but a drawback exists: Windows doesn’t receive notifications of remote Samba share changes. As a workaround, I’ve implemented a check every 5 seconds.
While better solutions may exist, this suffices for now. I’ve made this program available on GitHub for anyone interested in forking or contributing: https://github.com/VidraSec/clipboard-monitor
- Set up and activate Samba on Linux (this guide was helpful: https://ubuntu.com/tutorials/install-and-configure-samba)
- Access the Samba share from Windows
- Compile the clipboard-monitor for Linux and Windows
- Execute the program on both systems, e.g.:
clipboard-monitor.exe \\192.168.0.1\shared-folder\clipboard.txt./clipboard-monitor ~/shared-folder/clipboard.txt
The Samba share also facilitates file sharing between the machines, fulfilling the shared folder requirement.
Currently, copying files via the clipboard isn’t supported, but this functionality might be added later. For now, file transfers can be conducted through the shared folder.
What Is Missing
A feature from VMware Workstation I miss is direct VM access to USB devices, such as using a USB WiFi dongle for WiFi hacking with a Hyper-V guest. I have some ideas for implementing this, possibly to be shared in a future post.
Conclusion
In my view, this setup performs quite well. The UI is highly responsive, and we retain all features of “Enhanced Session Mode”. Moreover, “Enhanced Session Mode” remains an option, allowing for easy reconnection if needed. Additionally, SSH is configured as a fail-safe. This configuration effectively replaces VMware Workstation for me.
martin@vidrasec.com | +43 670 3081275 | +43 670 3081275 | Book appointment |